Saturday, 2 August 2014

Swiss roll brooch

Recently I've seen lots of posts on how to make nice things out of felt. I thought I would give it a go too as lots of these posts state nice and easy a material it is to work with. Ta-da this is my latest project:

Swiss roll brooch

Only I didn’t find it so easy and it took me 2+ weeks to finish. Overall I am quite proud of it but it probably took much longer than it should have. 

Saturday, 5 July 2014

Sharpie pen decorating

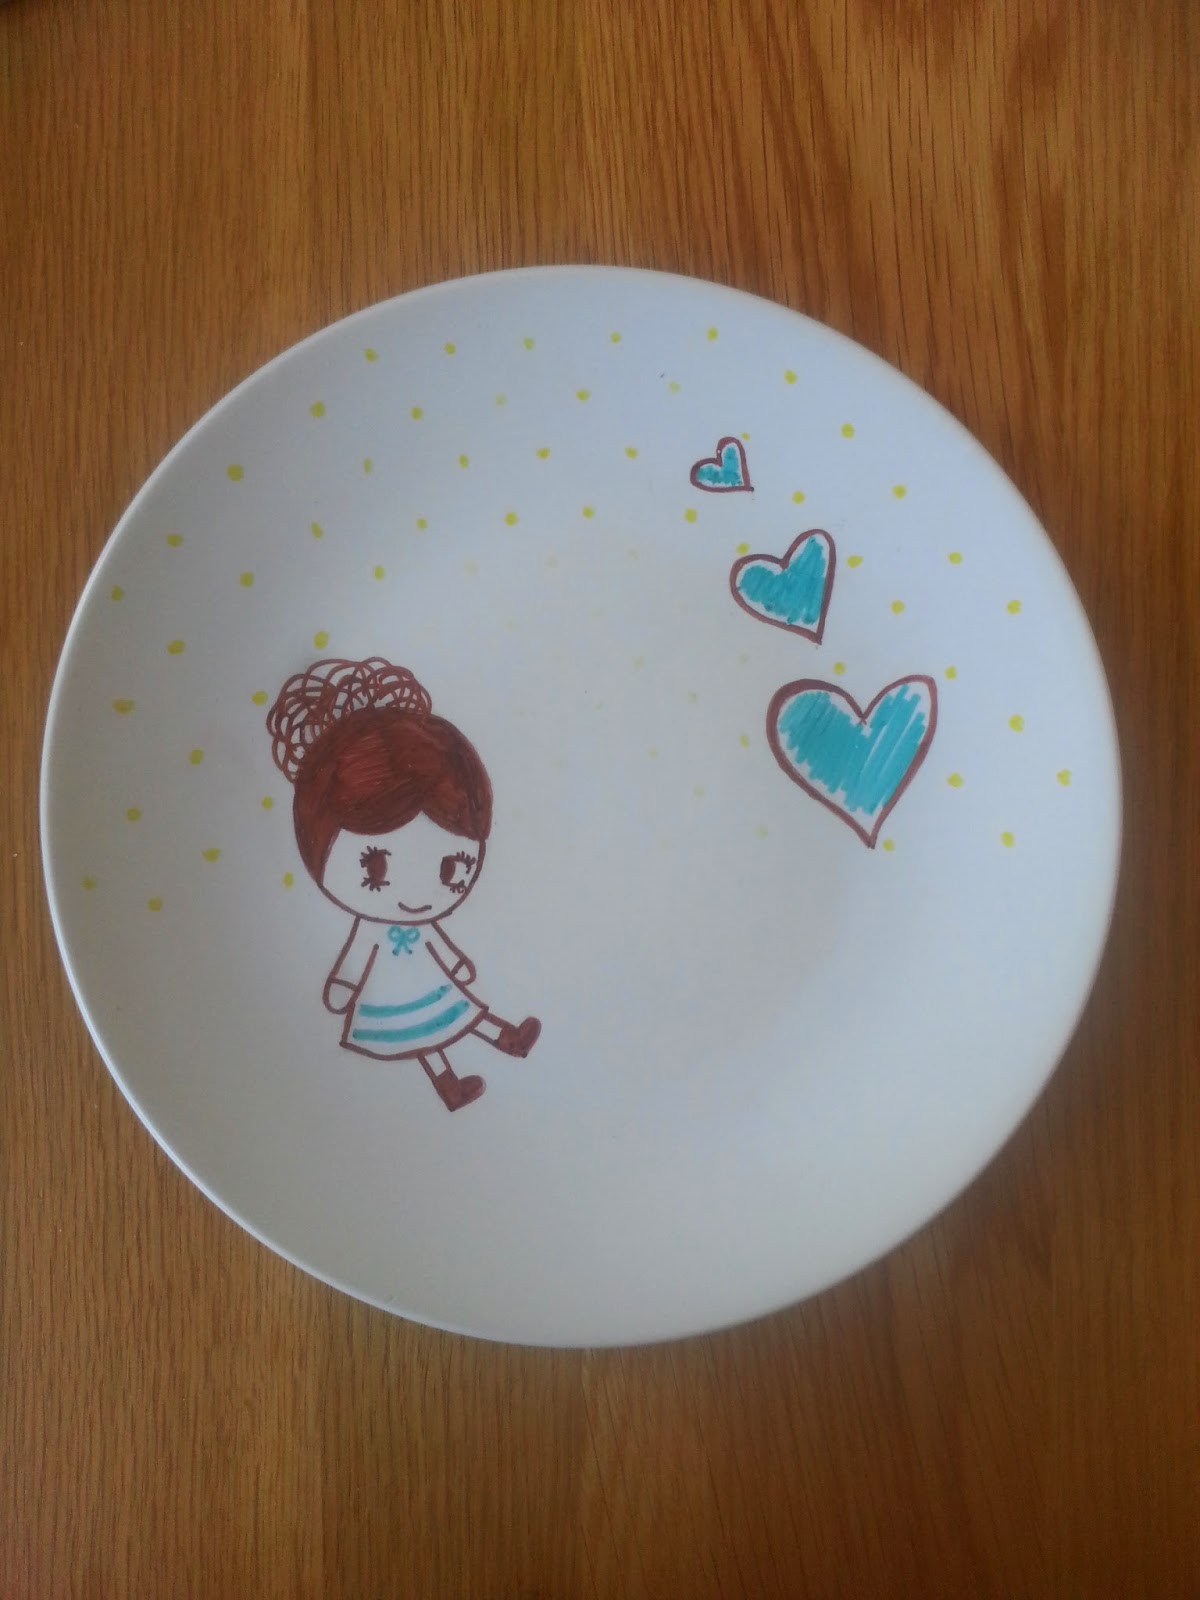
I'm a bit late jumping on this bandwagon (I think people did this a few years ago). I saw this on pinterest whilst browsing for ideas for something to do, using Sharpie pens to decorate plain plates. They make for nice personalised gifts if you are short of cash!

All you need are some white plates, a range of sharpie permanent markers in a range of colours and an oven to bake the plates in.


I bought some white plates from a charity shop, give them a wash and dry before you start.


I used pencil to sketch out a design on to the plates. Have some wet wipes/baby wipes handy to scrub out any pencil that shows up after you pen in your design.


Once you are happy with the design, bake them in the oven for 30 mins at gas mark 4 (180 Celsius, 350 Fahrenheit). 

The finished result!


I'm not entirely happy with the final result, but I guess its not too bad for a first attempt...


Sunday, 1 June 2014

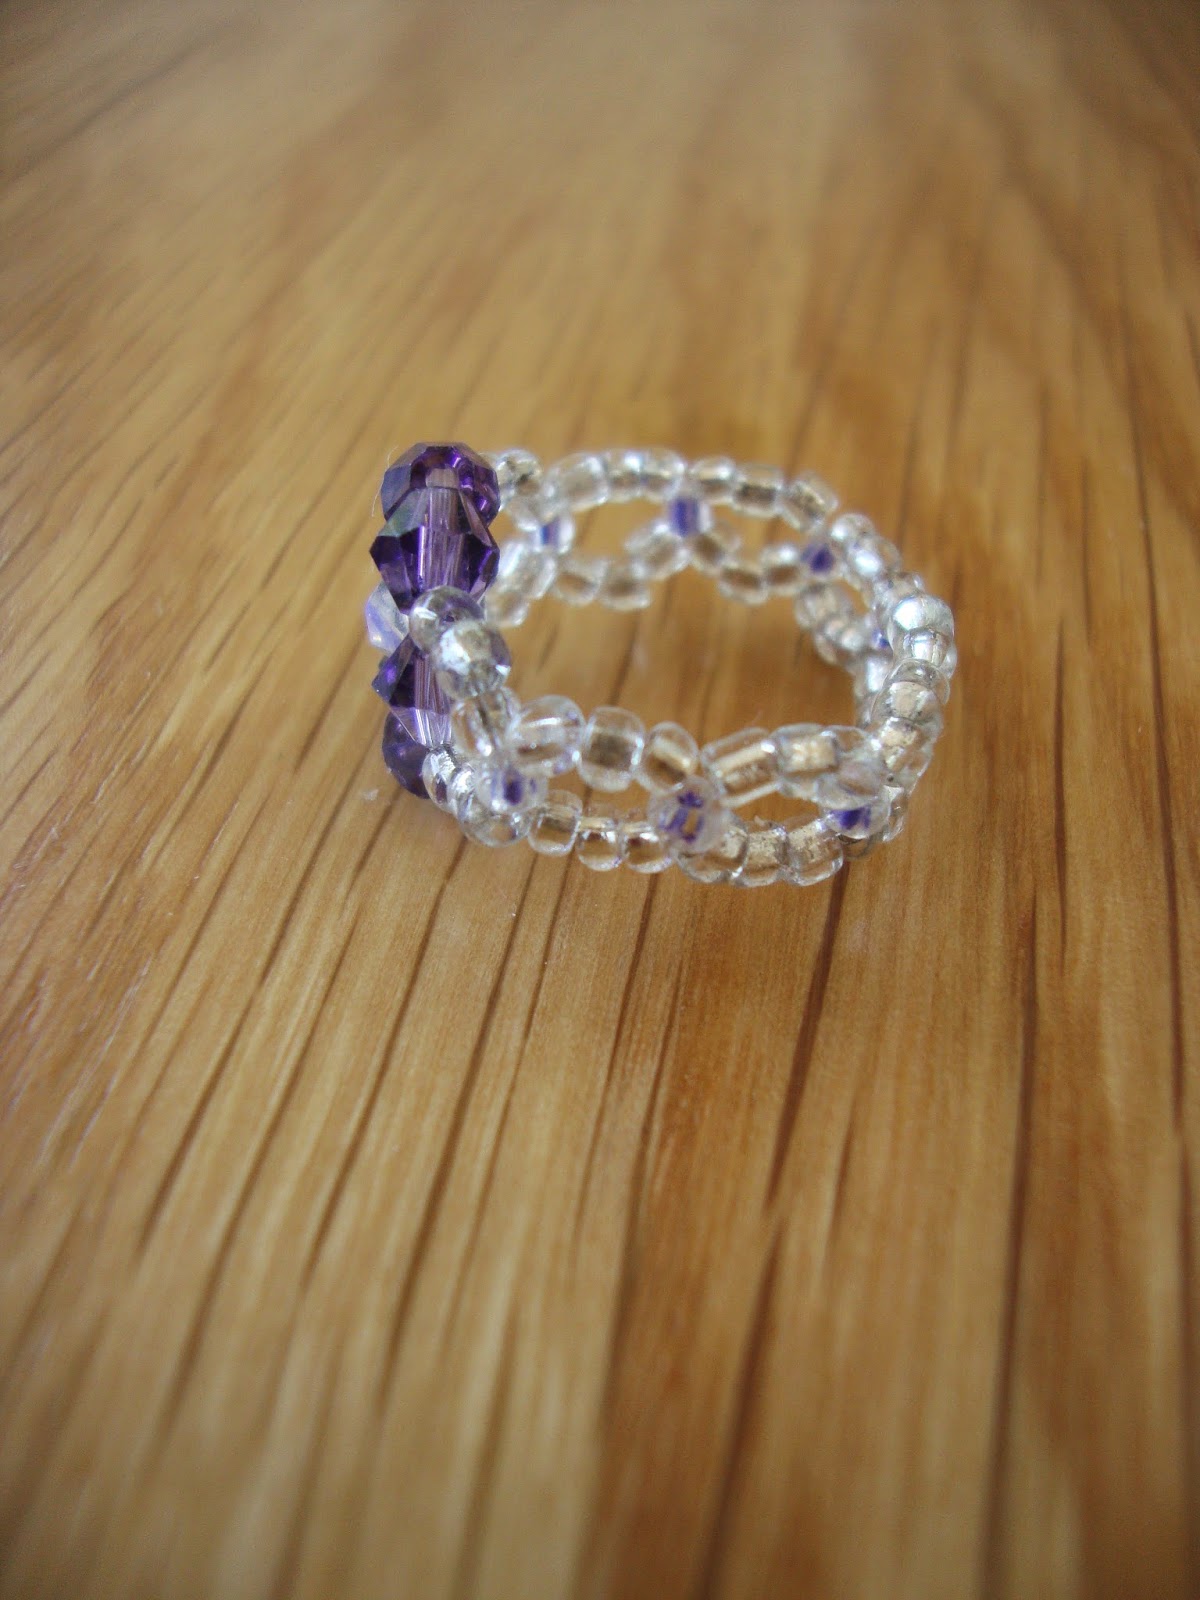
Simple bead weaving tutorial

I haven’t done any bead weaving for a while, so I thought it would be nice to try something simple just to get into the swing of things again. This is a tutorial on how to make a ring with a flower detail and like the title says, it is nice and easy!


You will need:
Tweezers (useful when threading through the smaller beads as it can be quite fiddly!)
Scissors
Fishing wire (x 1m)
1mm White beads (x 54)
1mm Blue beads (x 8)
4mm Pink bicone bead (x 1)
4mm Blue bicone beads (x 6)


(Use more or less 1mm beads if you want to make a larger or smaller ring, the amount used for this tutorial makes a UK size M)


Step 1: Thread 5 4mm coloured bicone beads onto the fishing wire, move the beads so they fall to the middle of the piece of fishing wire. Then thread both ends of the fishing wire through a pink 4mm bicone bead.


Step 2: Then thread both ends of the fishing wire through the beads you threaded previously, as marked in the diagram. (The wire should go through two coloured bicone beads on both sides). Then thread the wire through another coloured bicone bead.


Thread three 1mm beads on one end of the fishing wire, repeat for the other piece of wire. Then thread both ends through a blue 1mm bead.


Step 3: Repeat the threading of 1mm beads until you have reached the desired length. Then thread both ends of wire through the 4mm blue bicone bead to make the ring shape. Thread the wire through the existing beads until both ends of wire are next to each other so you can tie a knot. 


Sunday, 27 April 2014

Monday, 21 April 2014

Krispy Kreme inspired jewellery

My last project was a nice easy make (polymer clay Yoshi eggs) so I thought I would have another go at making some more polymer clay items. This time round I had a go at making Krispy Kreme doughnuts! Again it was nice and easy. I didn't take any step by step photos as it got a little messy.


To make these you will need:
Polymer clay in a range of colours 
Plain metal bracelet chain or necklace
Mobile phone loop
Metal eye pins
Metal loops

All you need to do is roll some brown polymer clay into round balls, then squish them a little so they are a little flattened. Next roll out some different coloured clay flat and lay it on top of your doughnut shapes (this is the icing). You can then roll out some long thin strands of different coloured clay (in a thin sausage shape) and arrange on top of the iced doughnuts. To make a hole in the centre of the doughnut, take a chop stick and stab the doughnut in the centre. There you have it, a Krispy Kreme doughnut! Add an metal eye pin to the doughnut so you can attach it to a metal chain once it has been baked and cooled. 


Once they are out the oven and cooled, you can paint them. I added some glitter to some of the doughnuts.


Friday, 11 April 2014

Yoshi egg bracelet

Happy easter everyone!

My young cousin came to visit us last week (she loves Mario Kart) so I thought I would make her a little gift to take home with her! It’s really easy to make and doesn’t take very long at all.


You will need:
A plain metal bracelet
Polymer Clay in white (I photographed black coloured clay by mistake… when I realised I had already made the eggs and had none left)
Metal loops
Eye pins
Acrylic paint in a variety of colours
Pliers


Open the Polymer clay and mush it around a bit to get it soft and easier to mould. Then make 5 egg shapes. 

Next cut the eye pins down to the appropriate size and push them into the clay eggs.


Follow the instructions on the packet and bake in the oven.

Once they are done, let them cool. Then paint the coloured spots on and let them dry.


Using the pliers attach loop the eggs onto the metal loops and attach to the bracelet.


Nice and easy!

Friday, 28 March 2014

Upcycling - Jewellery box

We moved into our new house last summer and the previous owner of the property left a few things behind. Most of the stuff was outdated old junk, and we took most of it to the local dump. There were a few kids’ things that I ended up keeping, one of which was an old jewellery box. I had been thinking of buying a jewellery box for Affie (she has been given lots of jewellery already from friends and relatives). So I thought I would use this as an opportunity to have a go at upcycling (inspired by Kirstie Allsop’s programme).

The old jewellery box
The 'upcycled' jewellery box
I started off by using plastikote in flat white. It covered the majority of the box but it was pretty thin, so I used the Wilkinson’s own brand (in satin white) which worked out so much better! I used some left over lace to get the pattern on the edge of the drawers. 


It didn’t turn out as crisp as what I would have liked but it’s still ok. I also used Plastikote in Sky blue. Not too bad for a first attempt at upcycling I suppose…


Saturday, 8 March 2014

Banana Cake!


A nice easy recipe, just chuck all the ingredients into a bowl and mix. The main reason why I like this recipe so much is because most of the bananas I buy always go skanky before I get to eat them. This is a recipe my Mum taught me ages ago, she normally makes it in a loaf tin but I decided to make separate cakes so they are more bite sized (also you don't need to slice the cake each time you want some-yup I am lazy!) You can add extra ingredients to the mix if you like (blueberries, walnuts or chocolate chips).

My little helper

Ingredients needed:

2 Eggs
100g/4oz Self raising flour
100g/4oz butter/margarine
100g/4oz Soft brown Sugar (I used normal sugar in this recipe because I forgot to buy brown sugar)
1 Old ripe banana

Preheat the oven to 200 degrees (gas mark 6).

1. Place all the cupcake cases into a cupcake tin (or line a cake tin or loaf tin with greaseproof paper.)

2. Put the butter and sugar into a bowl and mix.


3. Then add eggs and mix.


4. Add flower and mix.


5. Mash up the banana and add to mixture.


6. Put the mixture into the cupcake cases (or cake tin). I stupidly used muffin cases so only ended up with 5 cakes...


7. Bake for 12-20 minutes.

Finished!


Sunday, 2 March 2014

Beaded flower brooch

It is now officially spring time! Who doesn't like a nice flower at spring time? This is a tutorial on how to make a flower brooch out of beads.


For this you will need:
Fishing wire
3mm White beads X 245 (I used Swarovski white AB beads-which I bought from ebay)
3mm Coloured beads X 185 
Metal brooch back
A decorative button 
Some strong glue (I used UHU glue)

(I used 4mm sized beads because I didn't have enough 3mm beads for this)


I will keep words to a minimum for this tutorial as I think the diagrams are quite easy to follow (I hope this is the case anyway).

Repeat the previous steps until you have 5 petals.


Once you have 5 petals you will need to link them up...
The blue arrow lines indicate the beads you need to thread through to attach the petals to the metal brooch backing.


Once you have attached the petals to the metal backing glue the button to the centre. I'm sure there is a way of making a nice, neat centre using beads but I couldn't find a way of creating one. It just looked like such a mess, so its much easier to glue something to cover the mess!

The beads I used for this were probably a little on the large side. So the brooch ended up massive, I have decided to use it as a bag charm instead. (Use 3mm size beads for a more 'brooch' sized brooch!)


Sunday, 16 February 2014

Car crayons!

I made these for my friend’s son. He loves cars and he enjoys drawing (unfortunately mainly on his parents newly painted walls…) So I thought these would be perfect for him! Also they are really easy to make!


You will need:
Non-toxic crayons in a range of colours
Chocolate mould (I chose car shapes)
Empty tins
Stick to stir with (I used a wooden chop stick which you get in the packs of sushi)


Step 1: Take the wrappers off the crayons and break them down into smaller chunks. Place them into the empty tins.


Step 2: Bring a pan of water to boil and place the tins into it.


Step 3: Melt the crayons down and use a stick to mix it. You are aiming to melt it down so it is easy to pour.


Step 4: Pour into your chocolate moulds. Repeat the process for the other colours.


Step 5: Place the tray into the fridge and leave for an hour or so (this is probably much longer than what it needs to be). But when they have cooled down they should just fall out of the tray easily.


Next I wrapped up an old box in some nice paper (it looks a little better than just giving some crayons in a bag). Ta-dah! The finished gift!