Saturday, 11 April 2015

Bead bracelet tutorial

I wanted to make a bracelet using fresh spring colours so I chose a combination of white and green beads.  
This tutorial is fairly simple and I think the diagrams explain the steps well so I haven’t included any written instructions. If anyone does need some tips please don’t hesitate to contact me! 


For this bracelet I used: 
2m of fishing wire 
165 white 1mm beads 
44 green 4mm bicone beads 
22 green 6mm long tube beads 
Metal clasp and three metal loops 
Pliers to add the metal clasp to the bracelet 


This makes a 14.5cm long bracelet, which is a bit on the small side. You can always add extra metal loops on the end so the length can be adjusted (or use more beads).
 

Saturday, 28 February 2015

Pastel Frozen inspired moodboard

A pastel pink, blue, turquoise and lilac Frozen inspired moodboard:
 
 
A few ideas for our daughters bedroom!

Saturday, 2 August 2014

Swiss roll brooch

Recently I've seen lots of posts on how to make nice things out of felt. I thought I would give it a go too as lots of these posts state nice and easy a material it is to work with. Ta-da this is my latest project:

Swiss roll brooch

Only I didn’t find it so easy and it took me 2+ weeks to finish. Overall I am quite proud of it but it probably took much longer than it should have. 

Saturday, 5 July 2014

Sharpie pen decorating

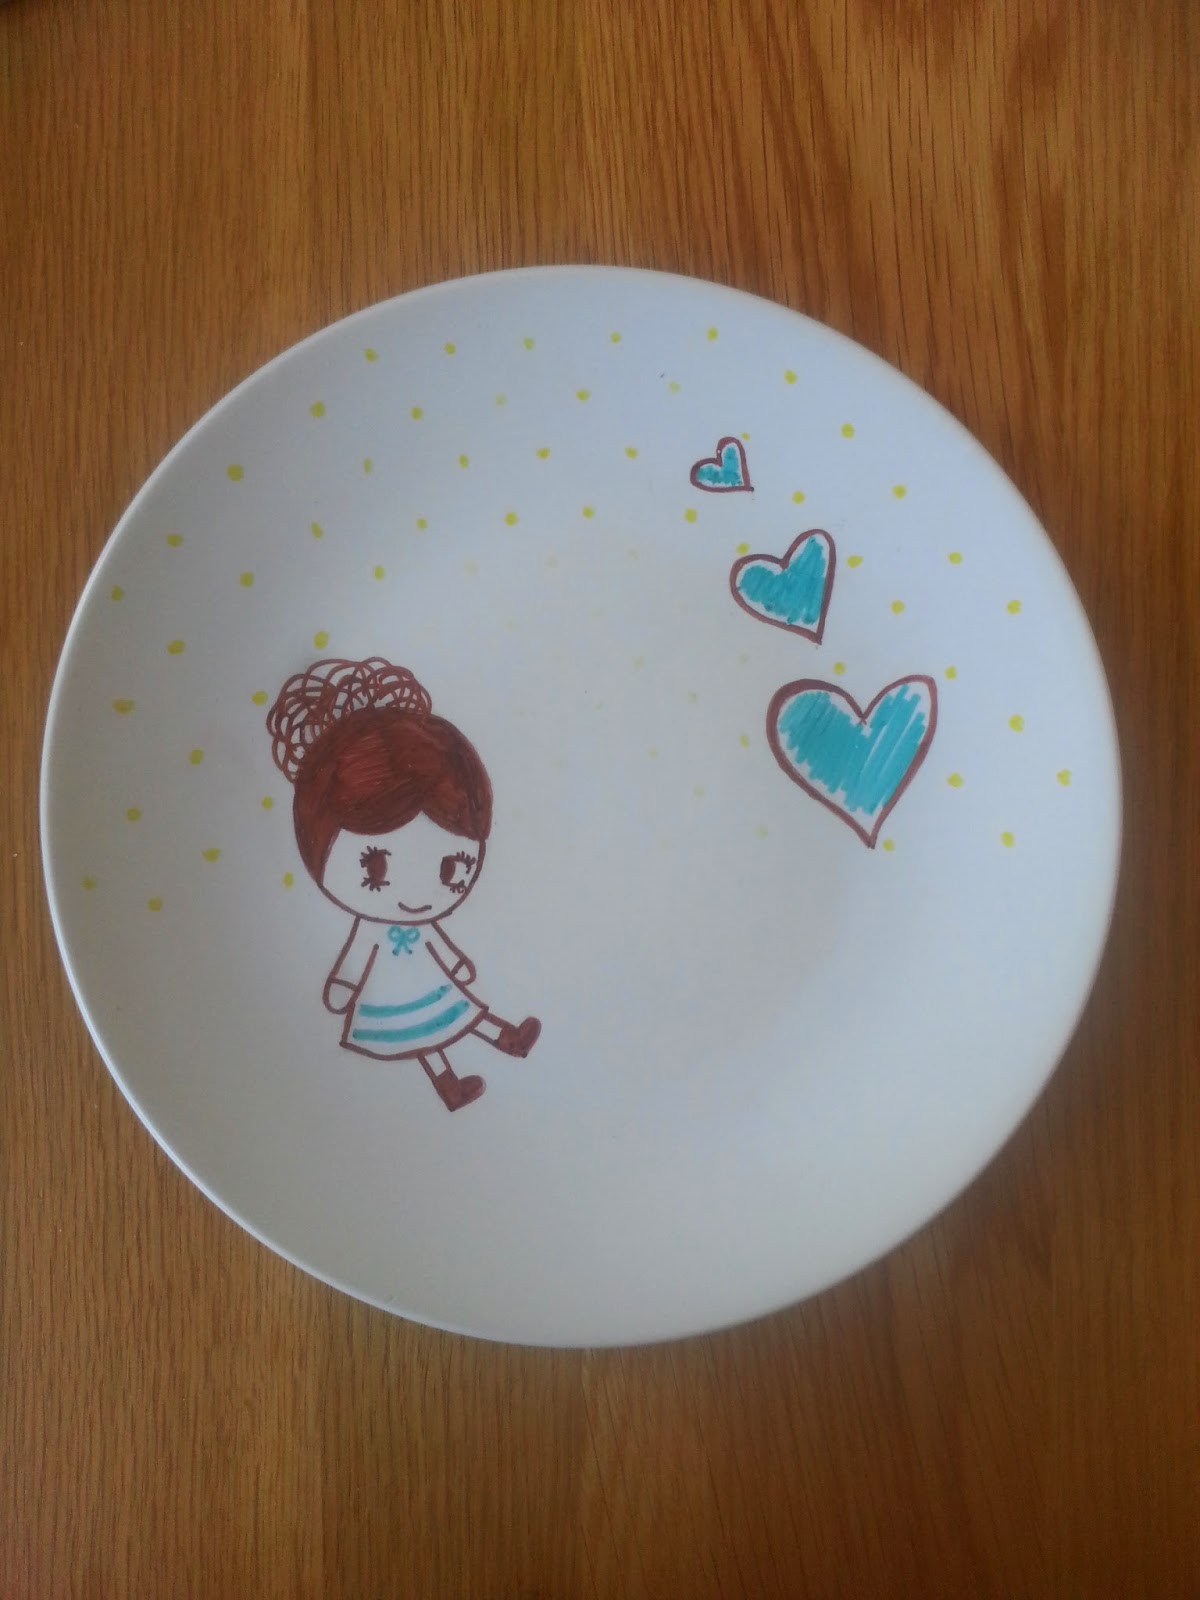
I'm a bit late jumping on this bandwagon (I think people did this a few years ago). I saw this on pinterest whilst browsing for ideas for something to do, using Sharpie pens to decorate plain plates. They make for nice personalised gifts if you are short of cash!

All you need are some white plates, a range of sharpie permanent markers in a range of colours and an oven to bake the plates in.


I bought some white plates from a charity shop, give them a wash and dry before you start.


I used pencil to sketch out a design on to the plates. Have some wet wipes/baby wipes handy to scrub out any pencil that shows up after you pen in your design.


Once you are happy with the design, bake them in the oven for 30 mins at gas mark 4 (180 Celsius, 350 Fahrenheit). 

The finished result!


I'm not entirely happy with the final result, but I guess its not too bad for a first attempt...


Sunday, 1 June 2014

Simple bead weaving tutorial

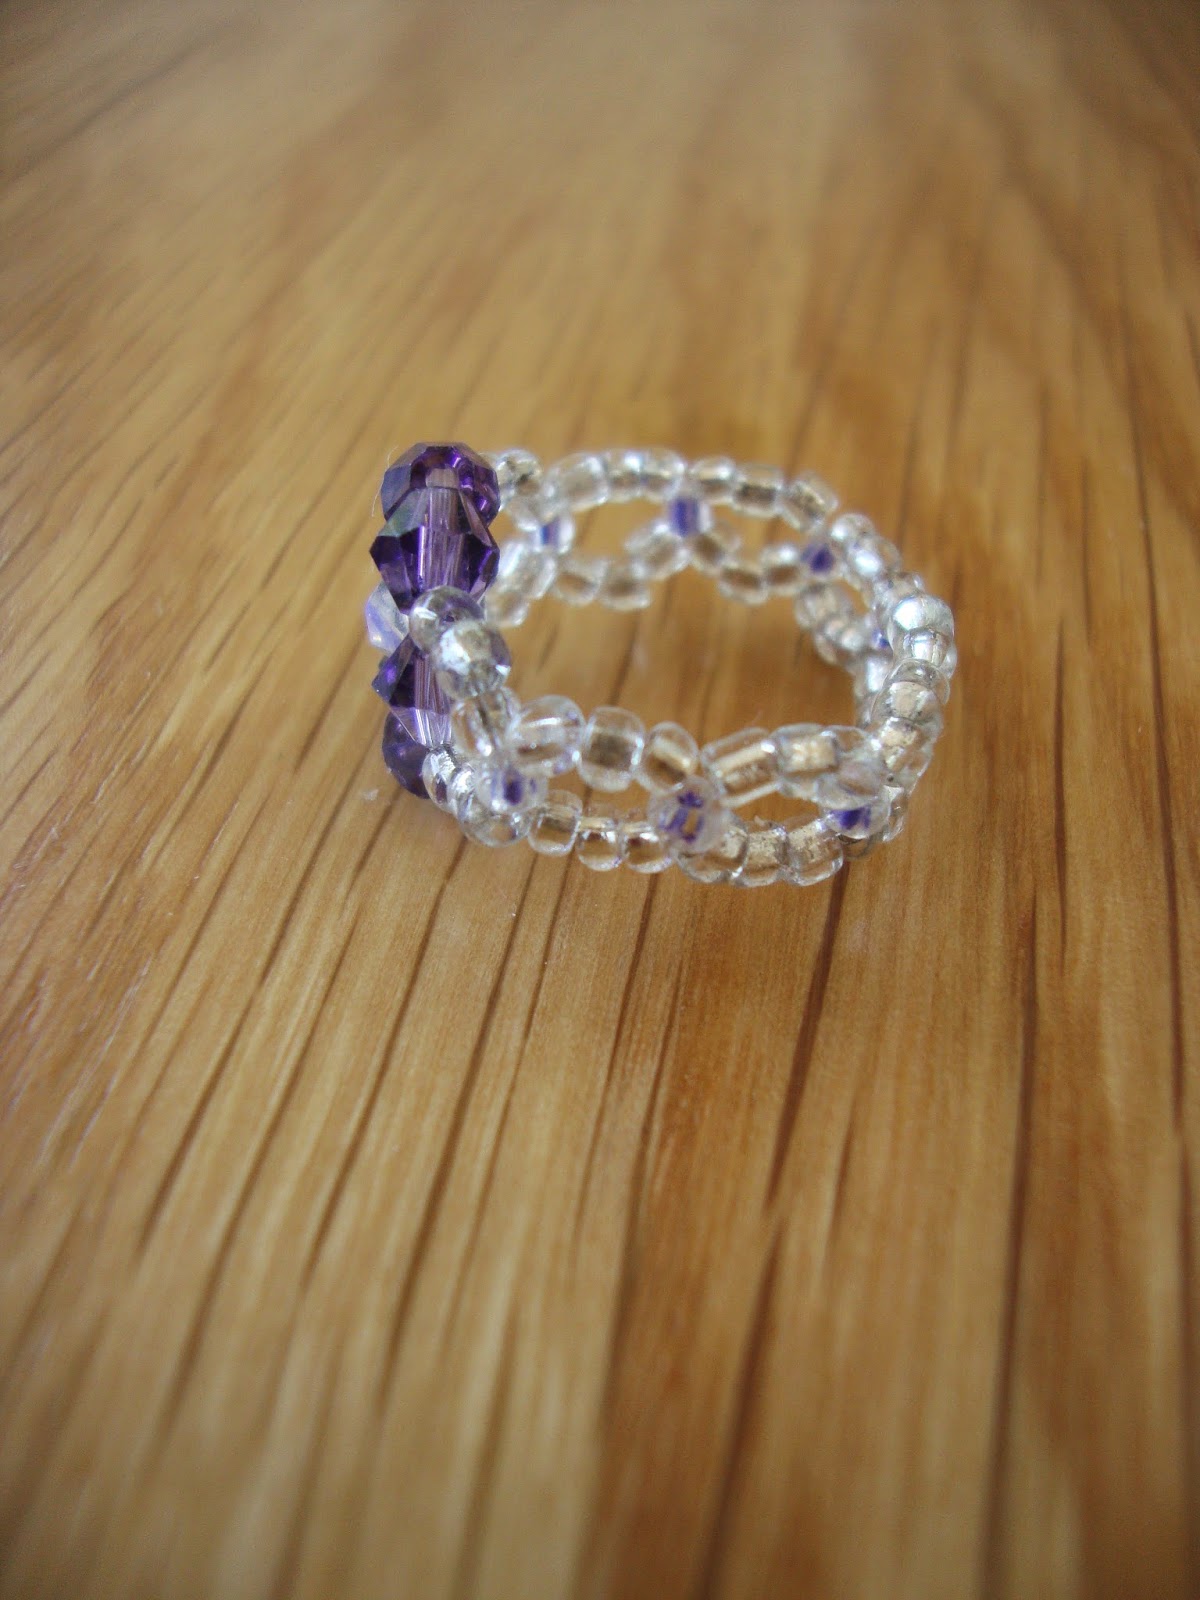
I haven’t done any bead weaving for a while, so I thought it would be nice to try something simple just to get into the swing of things again. This is a tutorial on how to make a ring with a flower detail and like the title says, it is nice and easy!


You will need:
Tweezers (useful when threading through the smaller beads as it can be quite fiddly!)
Scissors
Fishing wire (x 1m)
1mm White beads (x 54)
1mm Blue beads (x 8)
4mm Pink bicone bead (x 1)
4mm Blue bicone beads (x 6)


(Use more or less 1mm beads if you want to make a larger or smaller ring, the amount used for this tutorial makes a UK size M)


Step 1: Thread 5 4mm coloured bicone beads onto the fishing wire, move the beads so they fall to the middle of the piece of fishing wire. Then thread both ends of the fishing wire through a pink 4mm bicone bead.


Step 2: Then thread both ends of the fishing wire through the beads you threaded previously, as marked in the diagram. (The wire should go through two coloured bicone beads on both sides). Then thread the wire through another coloured bicone bead.


Thread three 1mm beads on one end of the fishing wire, repeat for the other piece of wire. Then thread both ends through a blue 1mm bead.


Step 3: Repeat the threading of 1mm beads until you have reached the desired length. Then thread both ends of wire through the 4mm blue bicone bead to make the ring shape. Thread the wire through the existing beads until both ends of wire are next to each other so you can tie a knot. 


Sunday, 27 April 2014

Monday, 21 April 2014

Krispy Kreme inspired jewellery

My last project was a nice easy make (polymer clay Yoshi eggs) so I thought I would have another go at making some more polymer clay items. This time round I had a go at making Krispy Kreme doughnuts! Again it was nice and easy. I didn't take any step by step photos as it got a little messy.


To make these you will need:
Polymer clay in a range of colours 
Plain metal bracelet chain or necklace
Mobile phone loop
Metal eye pins
Metal loops

All you need to do is roll some brown polymer clay into round balls, then squish them a little so they are a little flattened. Next roll out some different coloured clay flat and lay it on top of your doughnut shapes (this is the icing). You can then roll out some long thin strands of different coloured clay (in a thin sausage shape) and arrange on top of the iced doughnuts. To make a hole in the centre of the doughnut, take a chop stick and stab the doughnut in the centre. There you have it, a Krispy Kreme doughnut! Add an metal eye pin to the doughnut so you can attach it to a metal chain once it has been baked and cooled. 


Once they are out the oven and cooled, you can paint them. I added some glitter to some of the doughnuts.